
5 Essential Tips for Stunning DIY Holiday Photography

Holiday photos can go wrong fast. The lights look pretty in person, but the camera turns them into blurry dots. Everyone gathers around the tree, but half the faces fall into shadow. The one moment you wanted to capture happens before the camera is ready.
Good holiday photography does not require a studio, a professional camera, or a house that looks like a catalog. It requires a little planning, better light, simple composition, and a willingness to take more than one shot.
The best images usually feel relaxed. They show real connection, warm details, and the small traditions that make the season feel personal. Whether you use a phone, a mirrorless camera, or an older DSLR, these five tips will help you make photos that look polished without feeling stiff.
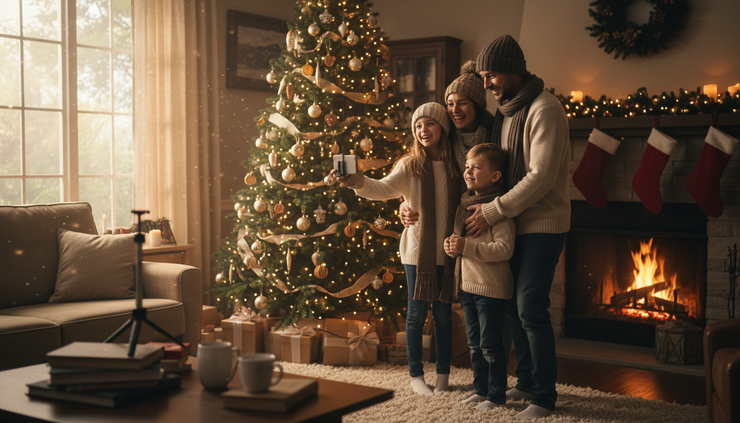
1. Plan the story before anyone picks up a camera
The strongest holiday photos have a clear point. They are not just pictures of people standing near decorations. They show something specific: baking cookies, lighting candles, opening ornaments, playing in snow, wrapping gifts, or crowding into the kitchen after dinner.
Before taking photos, choose a short list of moments you care most about. This keeps the session from feeling random and helps you notice details that tell the story.
A simple shot list might include:
Everyone gathered in one place
A close-up of hands decorating cookies
Kids or pets reacting to lights or gifts
One quiet portrait near a window
A wide photo of the decorated room
Small details like ornaments, mugs, stockings, or handwritten tags
This does not mean staging every second. It simply gives you direction. If the day gets busy, you can still grab the photos that matter.
Think in three photo types: wide, medium, and close-up.
A wide photo shows the whole scene. This might be the living room, dining table, front porch, or snowy yard. A medium photo focuses on people interacting, like two relatives hanging an ornament together. A close-up captures texture and emotion, such as flour on small hands, ribbon curling on a gift, or steam rising from cocoa.
Together, these images feel complete. They tell more of the holiday story than a dozen nearly identical group shots.
Planning also helps with timing. If you know you want a photo of the family in matching pajamas, take it before everyone is tired. If you want outdoor photos, schedule them before the light fades. If dinner is the main event, take a few kitchen photos before the room becomes crowded.
The goal is not perfection. The goal is to be ready when the good moments happen.
2. Use natural light whenever you can
Light makes the biggest difference in DIY holiday photography. A beautiful room can look flat under overhead bulbs, while a plain corner near a window can look warm and flattering.
Natural light is usually the easiest light to work with. Look for a window, glass door, or covered porch. Place people so the light falls across their faces from the front or side. If the light is too strong, move them a few feet away from the window or use a sheer curtain to soften it.
Avoid standing people directly under ceiling lights. Overhead light can create dark shadows under the eyes and nose. It can also make skin tones look uneven, especially when mixed with colored holiday lights.
For indoor portraits, try this simple setup:
Turn off harsh overhead lights.
Open curtains or blinds.
Place the subject facing slightly toward the window.
Stand with your back near the window, but do not block the light.
Tap the face on your phone screen to set focus and exposure.
If the photo looks too dark, do not rush to use flash. Built-in flash often creates bright foreheads, dark backgrounds, and red eyes. Instead, move closer to the light source or increase the exposure slightly on your phone.
Most phone cameras let you tap the subject, then slide your finger up or down to brighten or darken the image. On a dedicated camera, you can raise the ISO or open the aperture if you know how to adjust those settings. Keep changes small, since higher ISO can add grain.
Holiday lights can be tricky because they are bright points in a dark room. To capture their glow, take some photos at dusk rather than full night. The room will still hold enough ambient light for faces, and the string lights will still sparkle.
For tree photos, place people a few feet in front of the lights, not pressed right against them. This creates soft, glowing background blur, especially if your camera or phone has portrait mode.
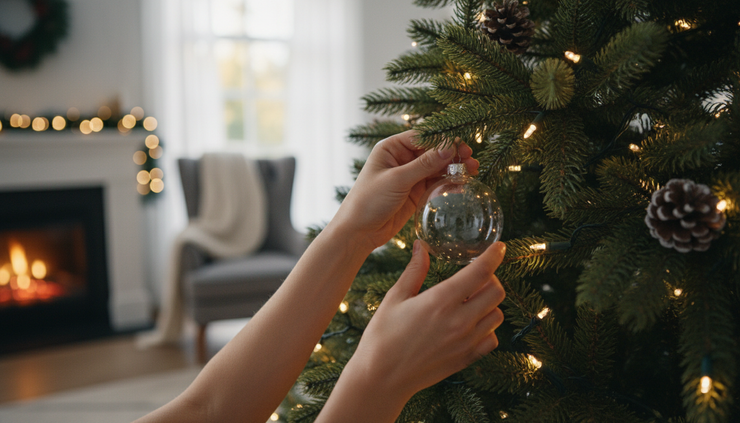
3. Compose photos so they feel intentional
A photo can have great light and still feel messy if the composition is unclear. Composition is simply where everything sits inside the frame. Small choices make a big difference.
Start by checking the edges of the frame. Look for distractions before you take the shot. A laundry basket, half-open cabinet, trash bag, or bright TV screen can pull attention away from the subject. You do not need to clean the whole house. Just clear the small area your camera can see.
Next, decide what the photo is about. If it is about a person, make the face easy to see. If it is about an ornament, move close enough that the ornament fills the frame. If it is about the whole room, step back and let the space breathe.
Use the rule of thirds when it helps. Imagine the frame split into three equal parts horizontally and vertically. Place the subject along one of those lines instead of exactly in the center. This can make the image feel more natural. Centering can still work well for formal portraits, symmetrical scenes, and group photos.
Watch the background. A tree, wreath, or mantel can add charm, but it should not appear to grow out of someone’s head. Move your feet slightly left or right until the background sits cleanly behind the subject.
For group photos, keep faces close together. The farther people stand apart, the colder the photo can feel. Ask everyone to lean in slightly, turn shoulders toward the center, and get on similar height levels when possible. People can sit on steps, gather on a couch, kneel in front, or stand behind.
For kids and pets, lower the camera. Photos taken from adult height often look distant. Kneeling down creates a more personal view and makes the moment feel bigger.
Try these simple composition checks before pressing the shutter:
Is the main subject clear?
Are faces well lit?
Is anything distracting near the edges?
Are people too spread out?
Would the photo look better closer, lower, or from the side?
Composition does not need to feel technical. It is mostly about noticing what belongs in the frame and what does not.
4. Capture real moments instead of forcing every pose
Posed photos have their place. You will probably want at least one photo where everyone looks at the camera. But the most memorable holiday images often happen between poses.
Someone laughs while untangling lights. A child sneaks a cookie. A grandparent reads a card twice. Friends crowd around a board game. These moments carry warmth because they feel true.
To capture them, keep the camera nearby and shoot in short bursts. Most phones and cameras can take several photos quickly. This helps with blinking, movement, and unpredictable expressions. Do not hold the shutter down forever. Take a quick burst, pause, and wait for the next moment.
Give people something to do. This works better than saying, “Act natural.” Ask them to hang an ornament, pour cider, wrap a gift, decorate gingerbread, light a candle, or walk together outside. Movement gives hands a purpose and helps faces relax.
For portraits, use prompts instead of stiff instructions. Try:
“Look at each other for a second.”
“Walk toward me slowly.”
“Tell them your favorite holiday dessert.”
“Hold the mug with both hands and look toward the window.”
“Everyone squeeze in and laugh like someone told a terrible joke.”
Some laughter will be fake at first. Keep shooting. The real smile usually comes right after.
Do not interrupt every sweet moment to fix hair, adjust posture, or move decorations. A slightly messy photo with honest emotion often ages better than a flawless photo that feels forced.
This is especially true with children. Give them room to move, and work quickly. Plan a few activities that photograph well, then let them happen. If a child loses interest, switch to candid photos or take a break.
The same idea works for adults who dislike being photographed. Avoid making the session feel like a performance. Keep conversation going. Take photos while people are busy doing something familiar. The camera becomes less noticeable when the moment has a purpose.
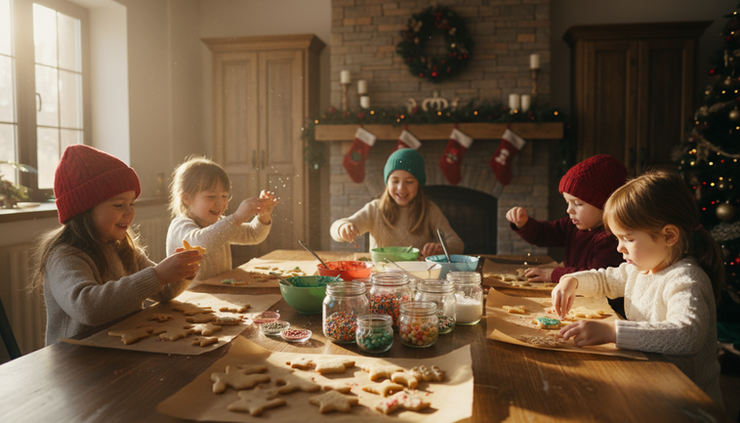
5. Edit lightly and keep the warmth
Editing can improve a holiday photo, but heavy editing can ruin it. The goal is to make the image look closer to how the moment felt. Warm, clear, and natural is usually better than overly filtered.
Start with the basics:
Straighten the photo.
Crop out distractions.
Brighten the image if needed.
Adjust warmth so skin tones look natural.
Add a little contrast if the photo looks flat.
Reduce highlights if lights look too harsh.
Be careful with saturation. Holiday colors are already strong. Pushing reds, greens, and golds too far can make the image look artificial. Skin tones are the best guide. If faces look orange, gray, or too pink, adjust the warmth and tint until they look believable.
For phone editing, the built-in Photos app is often enough. You do not need advanced software. Use small changes and compare the edited photo to the original. If the edit draws more attention than the moment, pull it back.
Black-and-white can work well for emotional images, especially when the lighting is mixed or the colors are distracting. A candid hug, a quiet laugh, or a sleepy child after a long day can look timeless in black-and-white. For colorful details, like ornaments or cookies, keep the color.
Keep a consistent feel across photos if you plan to print them or create a holiday album. They do not need to match exactly, but they should feel like they belong together. Similar warmth, brightness, and contrast will make the full set look more polished.
Also, save more than one version of important photos. Keep the original file, then save your edited version separately when possible. This gives you room to change your mind later.
One more habit helps a lot: delete duplicates slowly. It is fine to remove obvious blinks and blurry frames, but wait before deleting similar expressions. The photo that seems ordinary today may become meaningful later because of a gesture, a detail in the background, or the person in it.

Make the most of the camera you already have
A better camera can help, but it will not solve everything. Light, timing, and composition matter more than gear for most holiday photos.
If you use a phone, clean the lens before taking pictures. Phones spend all day in pockets, bags, and hands. A quick wipe with a soft cloth can remove haze and make lights look sharper.
Use portrait mode for single subjects or pairs, but check the edges of hair, glasses, and ornaments. Portrait mode can blur details in odd ways. Take one version with portrait mode and one without it so you have options.
For moving kids and pets, use good light and take bursts. Phones need more light to freeze motion. If the room is dim, movement will blur more easily. Move the activity closer to a window or brighter part of the room.
If you use a DSLR or mirrorless camera, a wider aperture can create soft backgrounds. A setting like f/2.8 or f/4 can work well for portraits, while f/5.6 or f/8 is safer for groups because it keeps more faces in focus. For indoor movement, keep the shutter speed fast enough to avoid blur.
The best gear habit is simple: keep the camera ready. Charge batteries, clear storage, and set your camera or phone where you can reach it. Many great holiday photos are missed because the camera is across the room or the storage is full.
A simple holiday photo flow to follow
If you want an easy plan, use this order:
Take detail photos before guests arrive or before the room gets messy.
Photograph activities while people are relaxed and busy.
Take group photos before everyone gets tired.
Capture quiet candid moments later in the day.
Edit favorites within a few days while the memories still feel fresh.
This flow works because it matches the natural rhythm of most gatherings. It also keeps the formal photos from taking over the day.

Great holiday photography comes from attention, not perfection. Plan the moments you want, find the best light, clean up the frame, let people move naturally, and edit with a light touch.
The holidays already give you everything worth photographing: connection, texture, tradition, and emotion. Your job is to notice it, frame it, and take the picture before the moment passes.


Comments